FT Simple Cub
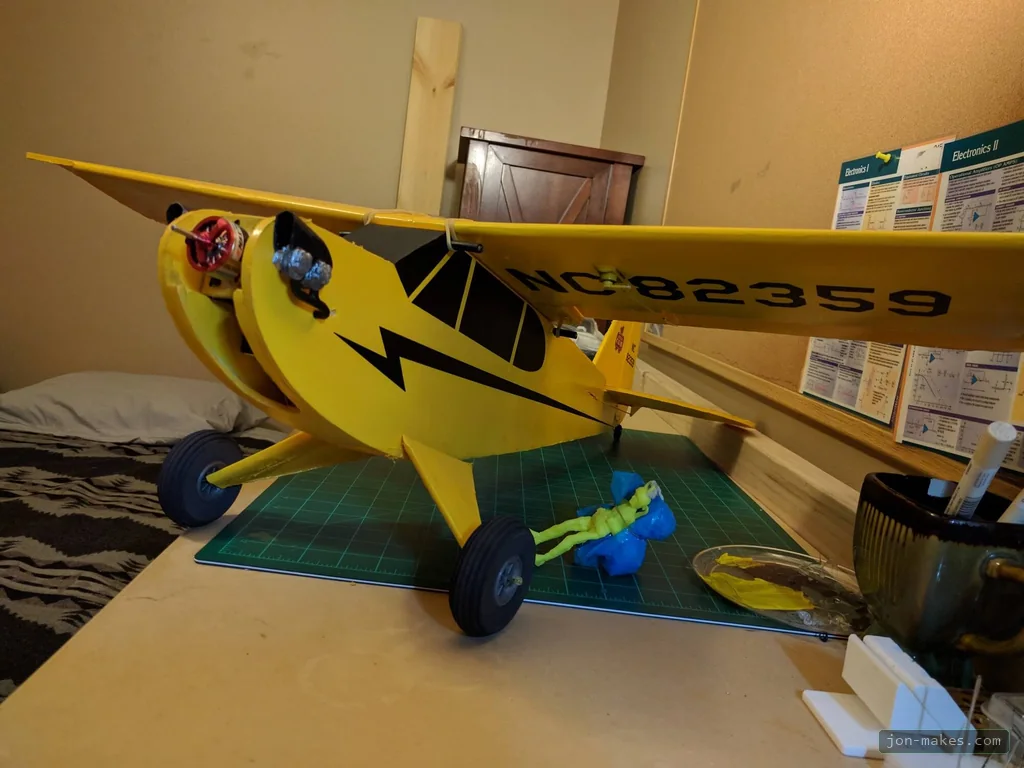
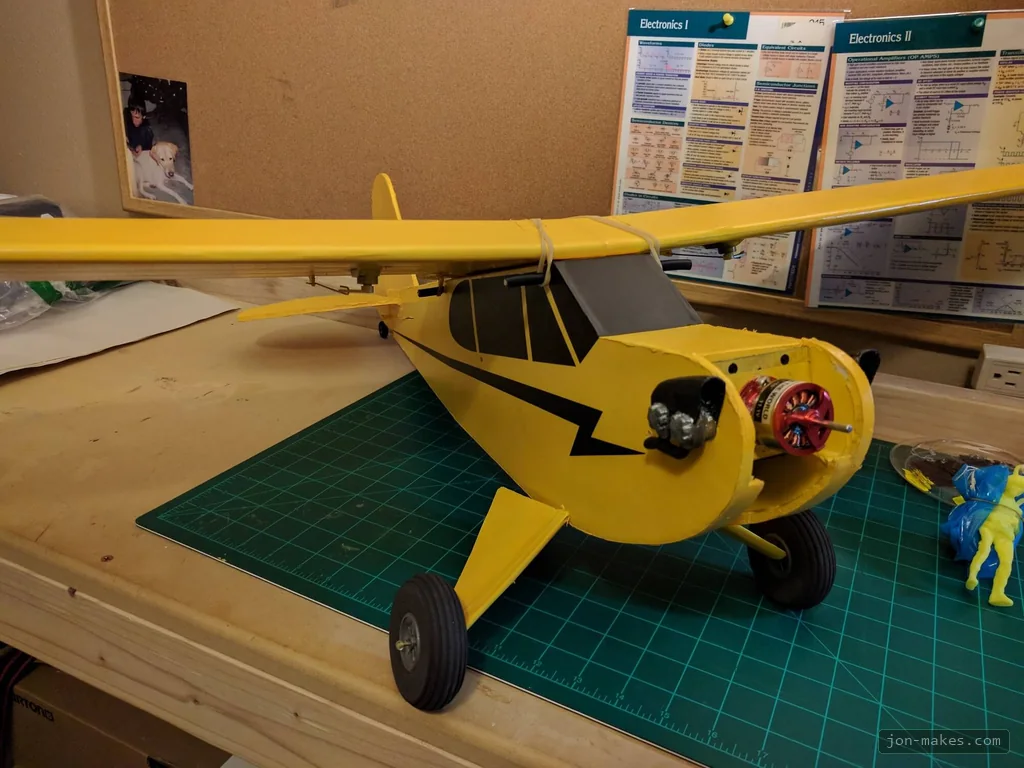
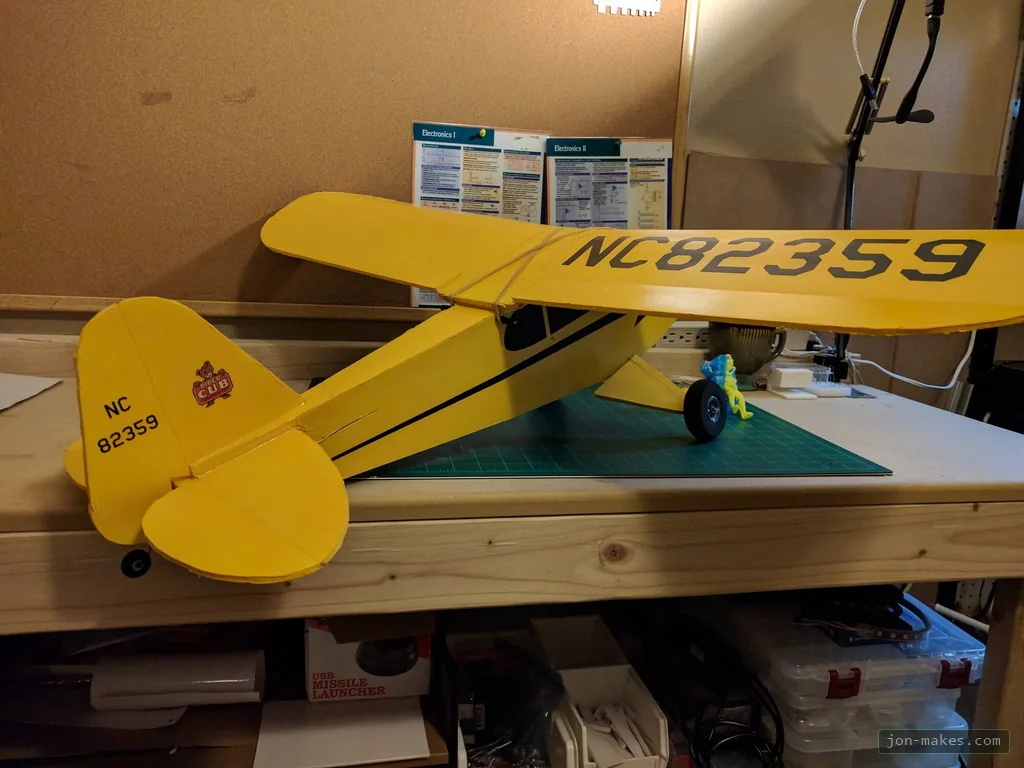
Scratch-built Flite Test J-3 Piper Cub RC airplane crafted from foam board with custom vinyl decals and a 3D-printed scale mock engine.
- ›Tracing tiled paper plans works once, but keeping a master template or buying the laser-cut speed-build kit saves hours.
- ›Peeling the outer paper layer before epoxying 3D-printed parts to foam board prevents delamination under prop wash.
- ›Hollow 3D-printed engine scoops add drag unless vented through the firewall to cool the ESC.
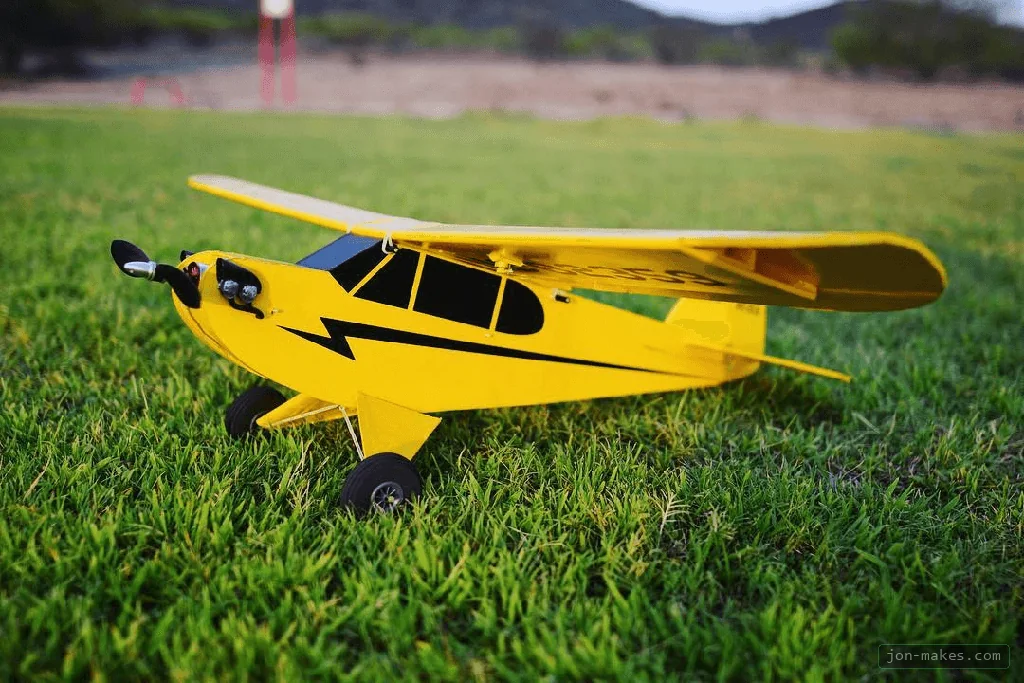
One of my all-time favorite planes is the J-3 Piper Cub. Even though I don’t have my pilot’s license (yet…), I hope that one day I’ll be behind the controls of a real one. For now I satisfy my dreams of flying with RC planes.
The Plans
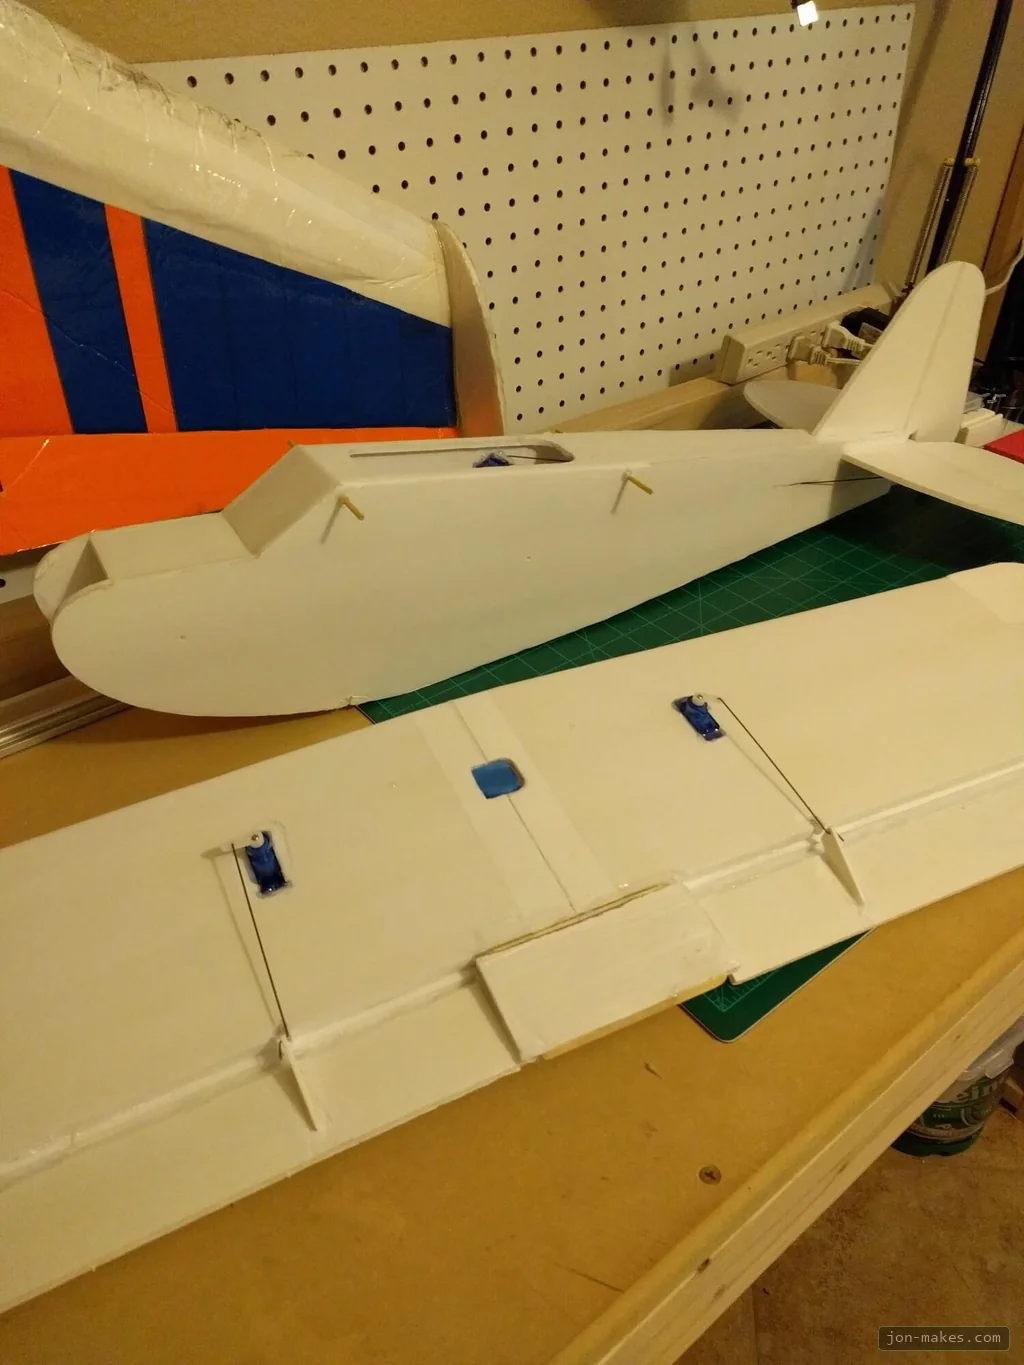
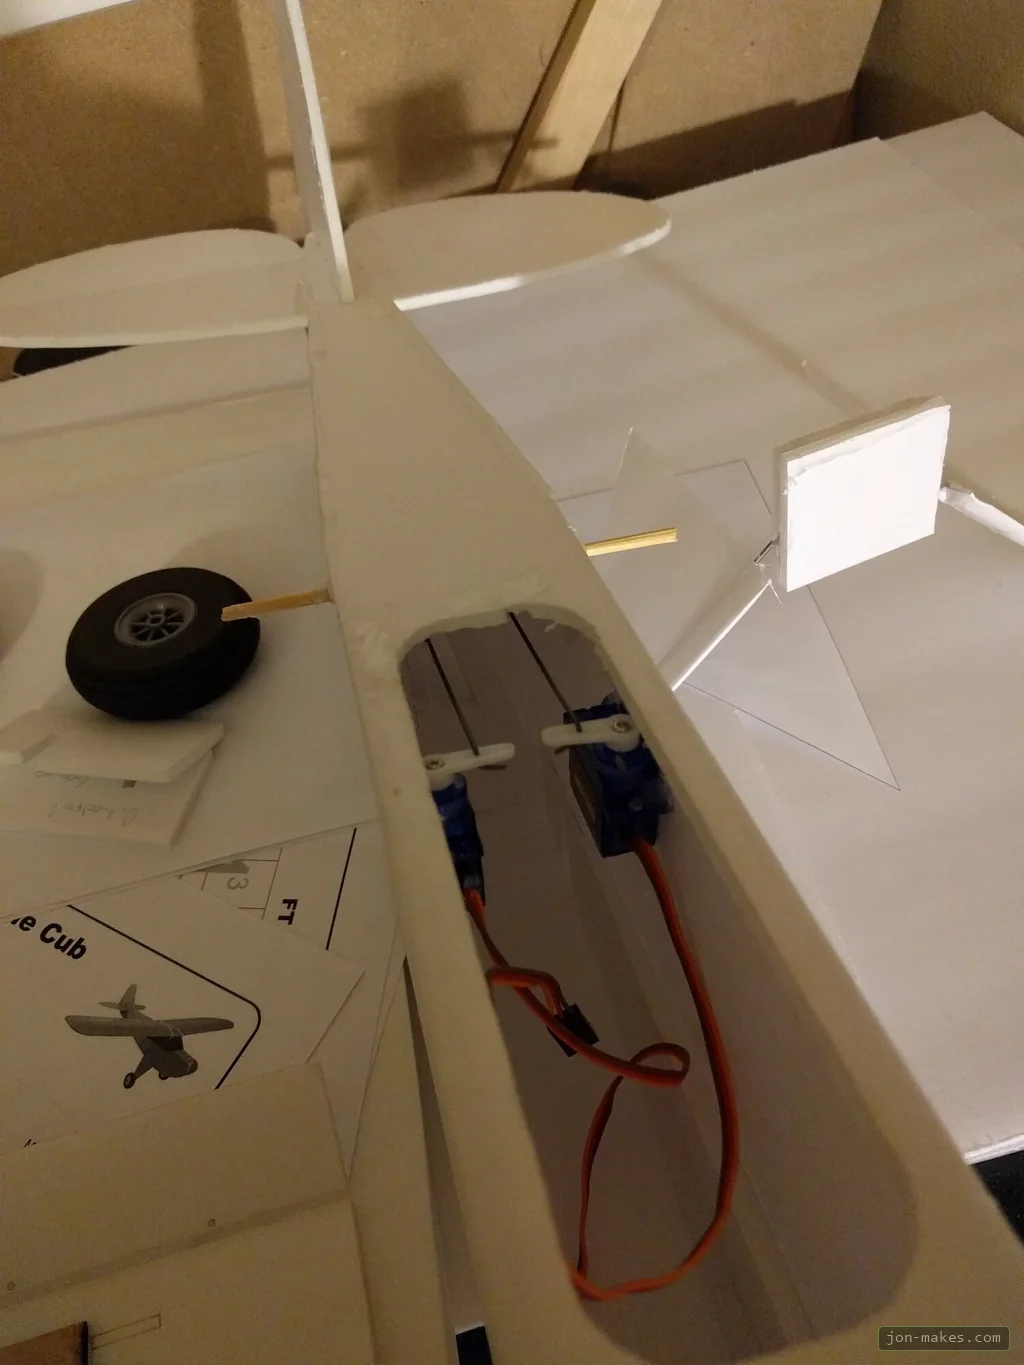
Anyone who has any interest in model aviation needs to check out FliteTest. Not only do they provide free plans and step-by-step build videos for all their models, they can all be built with common materials like foam board, barbecue skewers, tape, and hot glue. I’ve purchased kits from them before (FT Sparrow, FT Versa Wing), but for this build I opted to print the tiled plans and cut them out by hand.
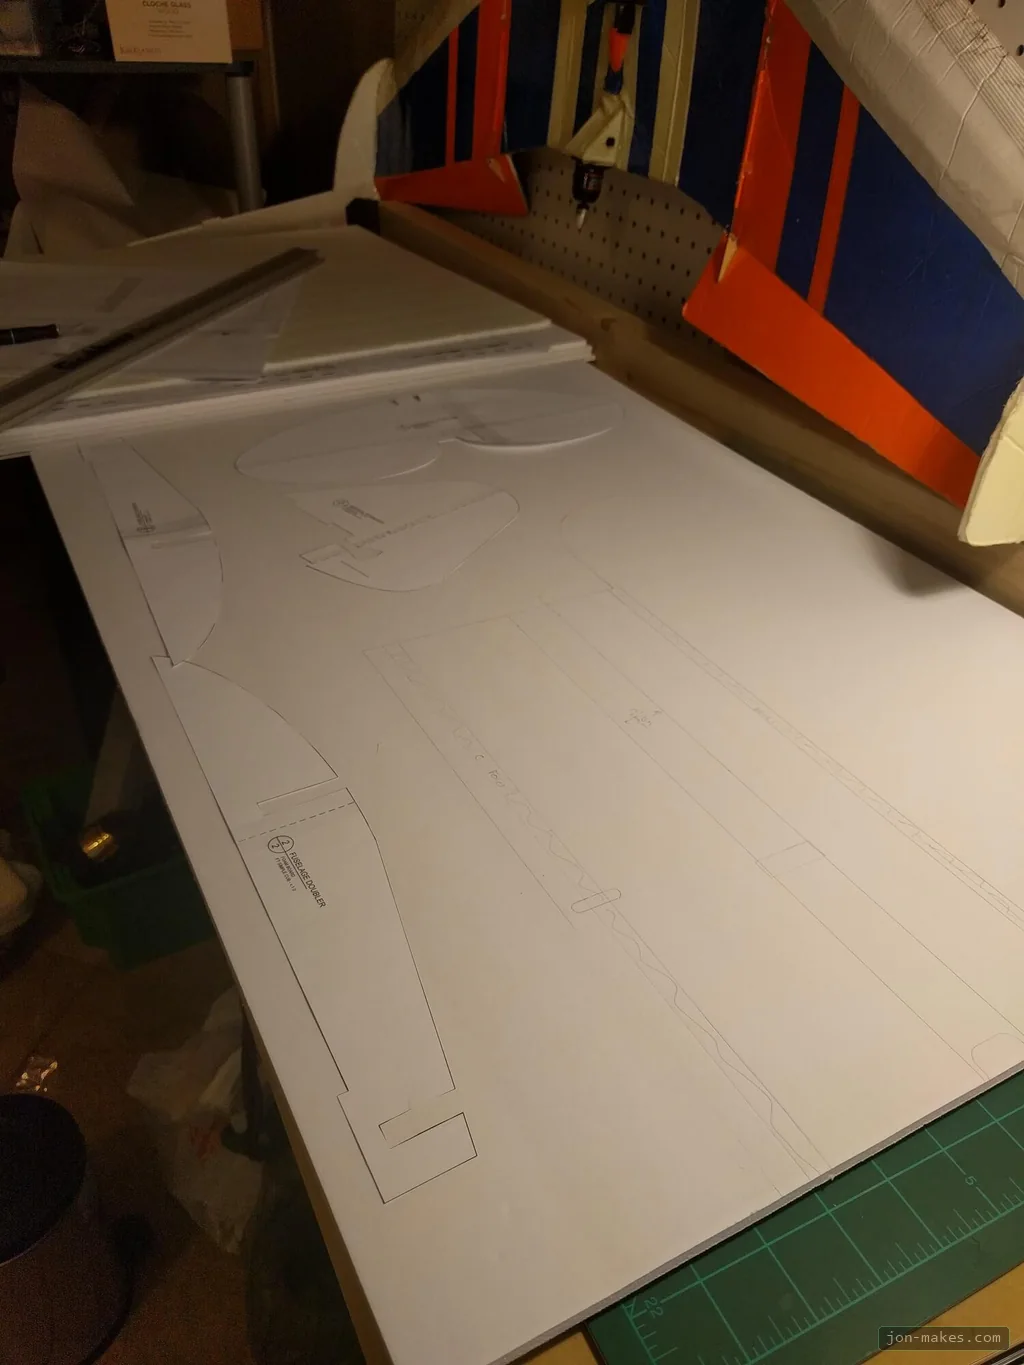
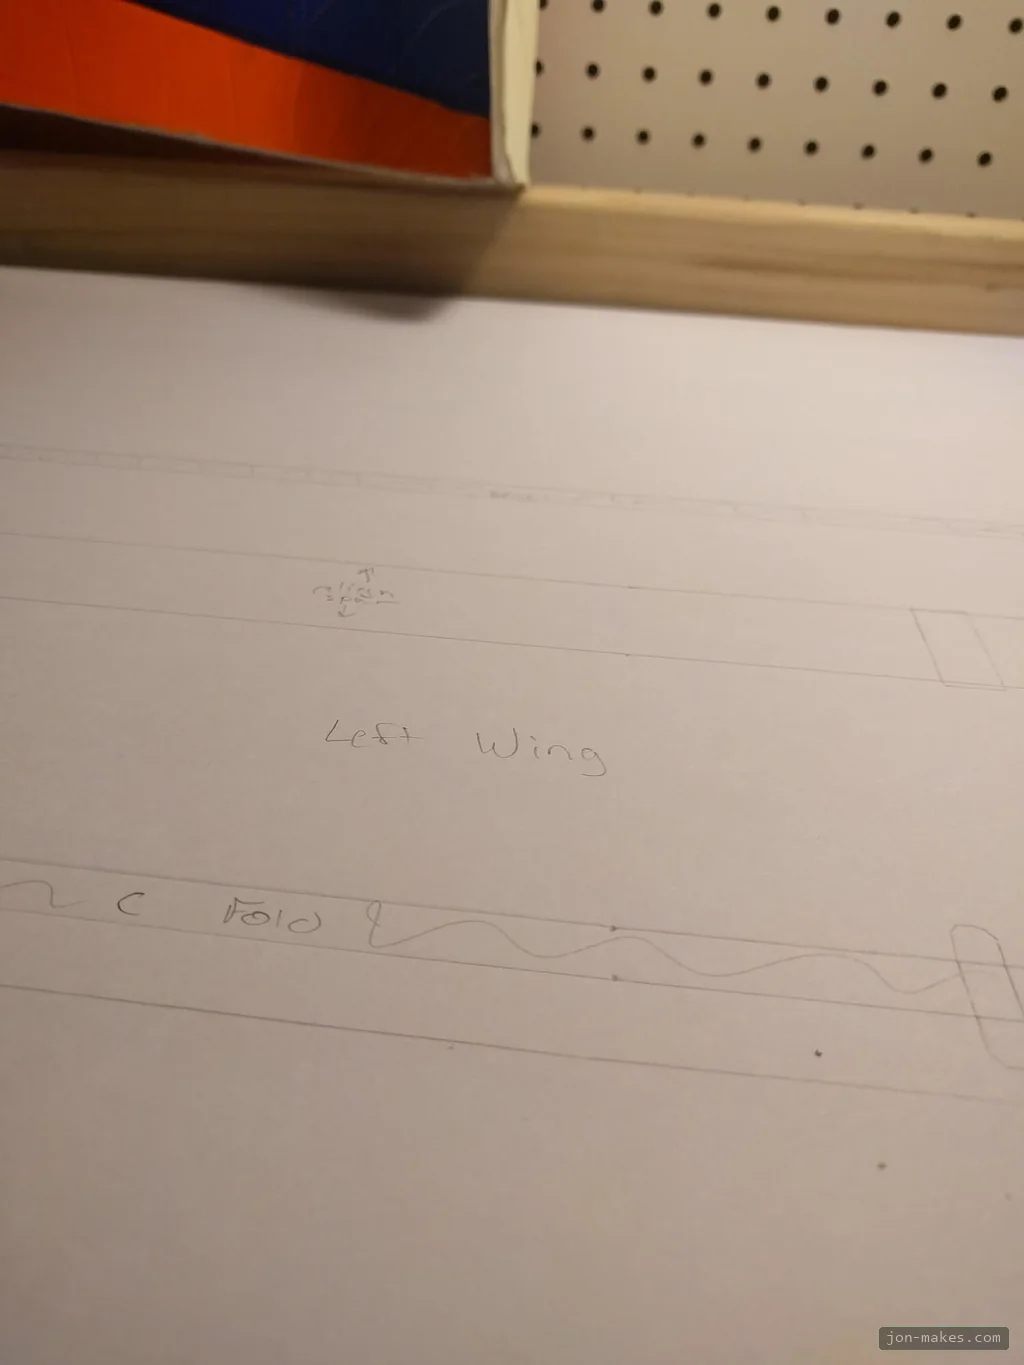
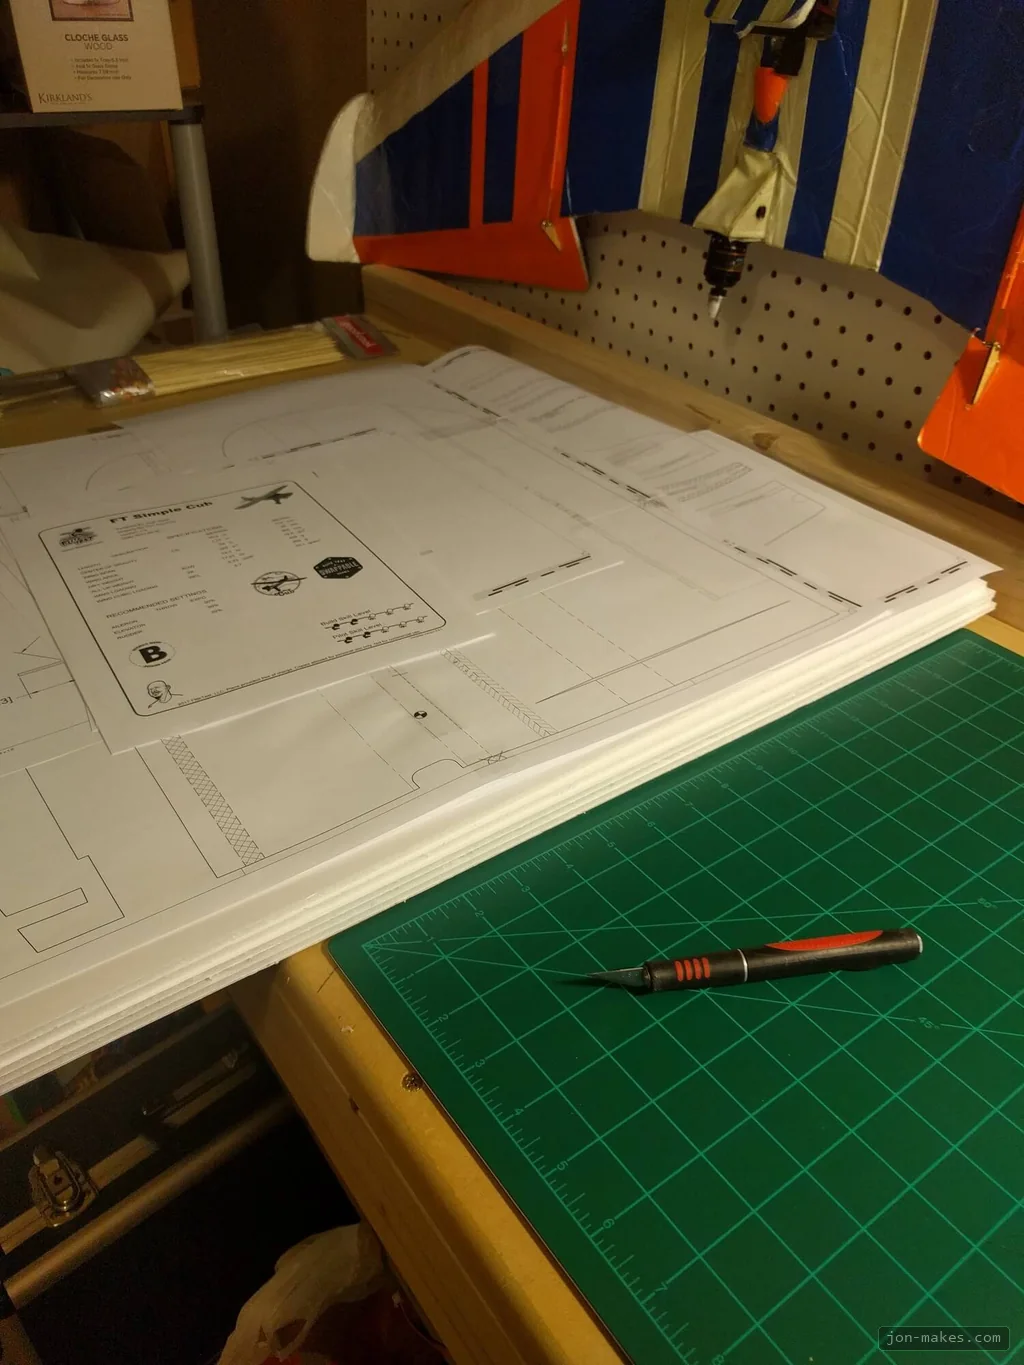
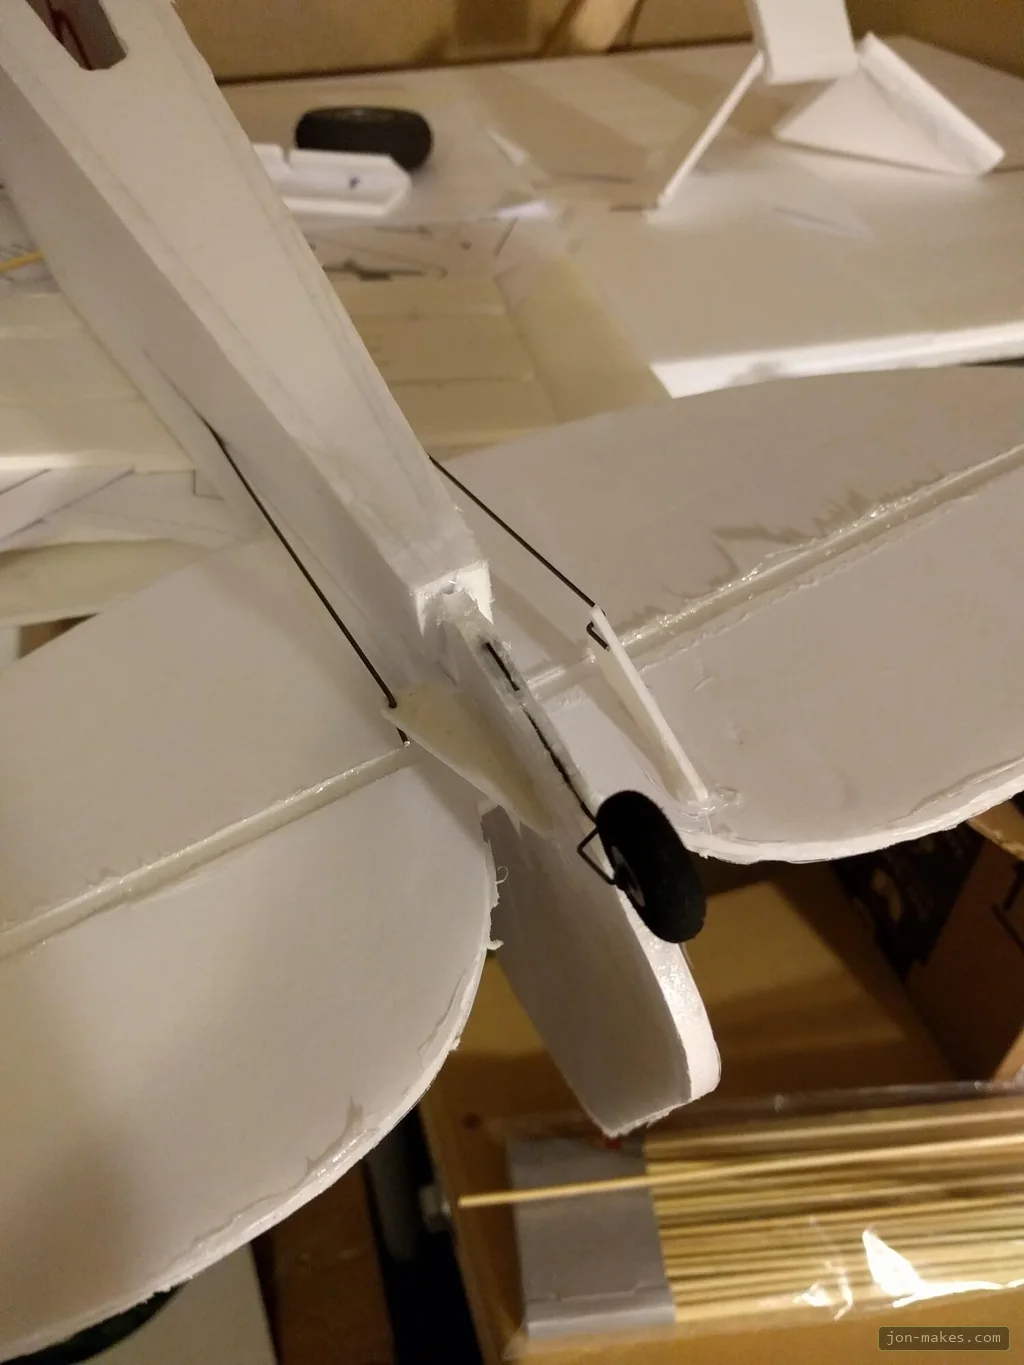
In hindsight this was a major PITA — printing the tiled plans, cutting and taping the pages to full size, using pins and a pencil to transfer the plan to the foam board, and cutting out each piece with an X-Acto blade. You can, however, trace the cut pieces onto another board if you’re building more than one.
Fluffing the Tail Feathers
Paint
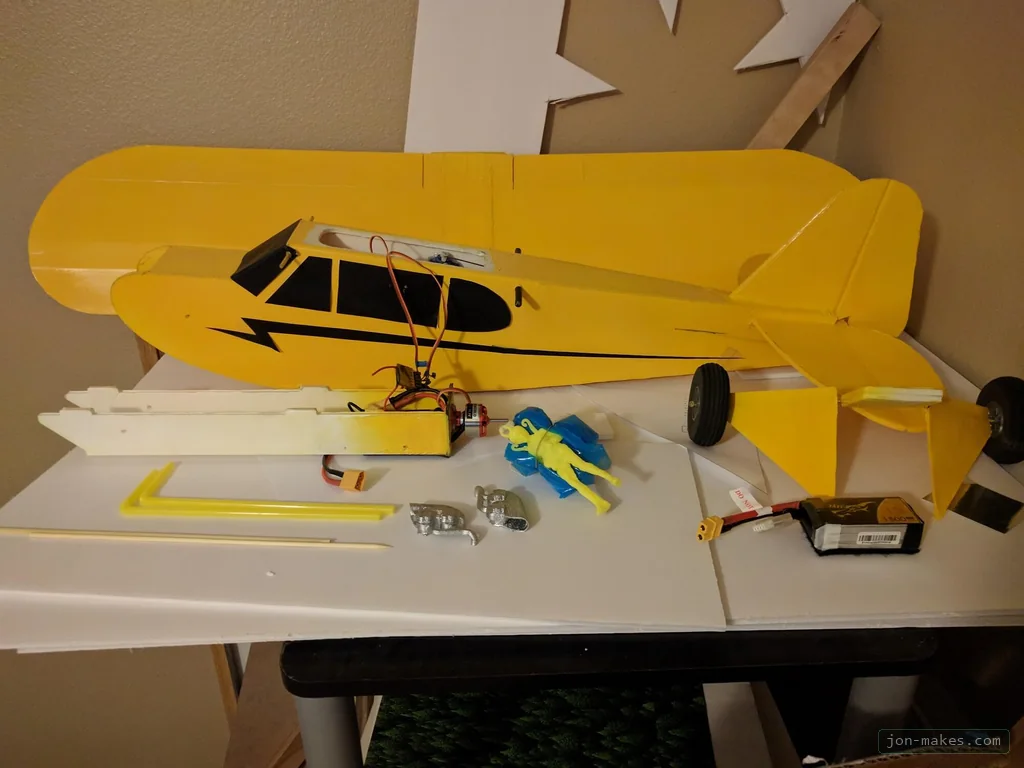
I went with Valspar yellow paint and Polyurethane for covering and waterproofing.
Decals
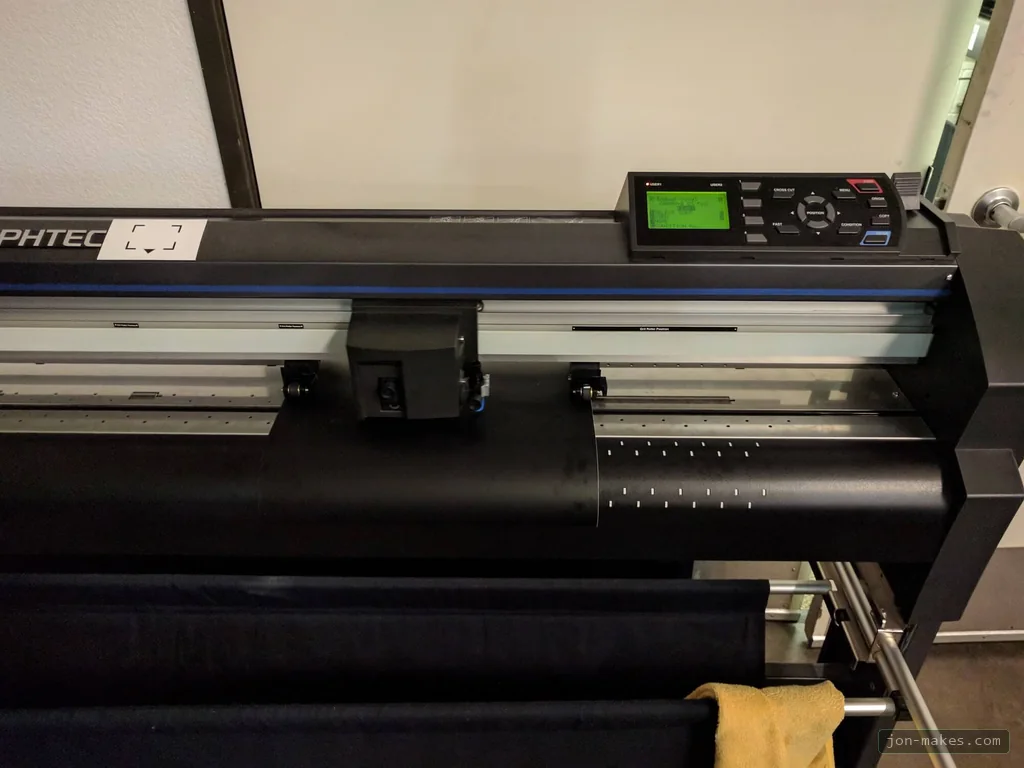
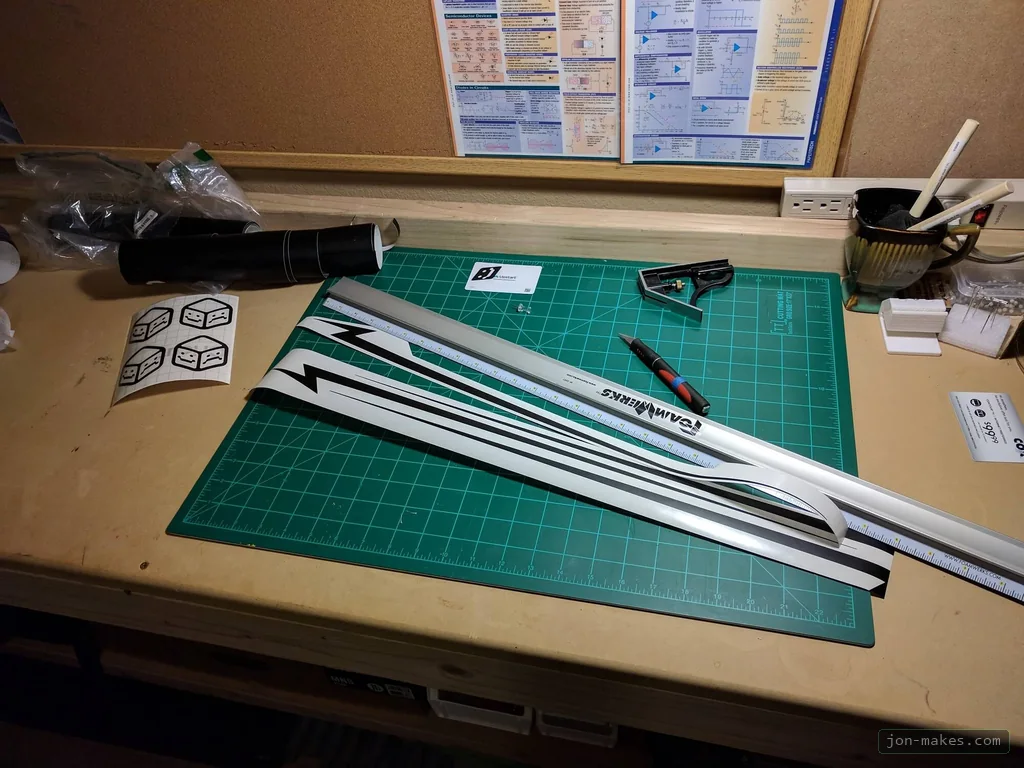
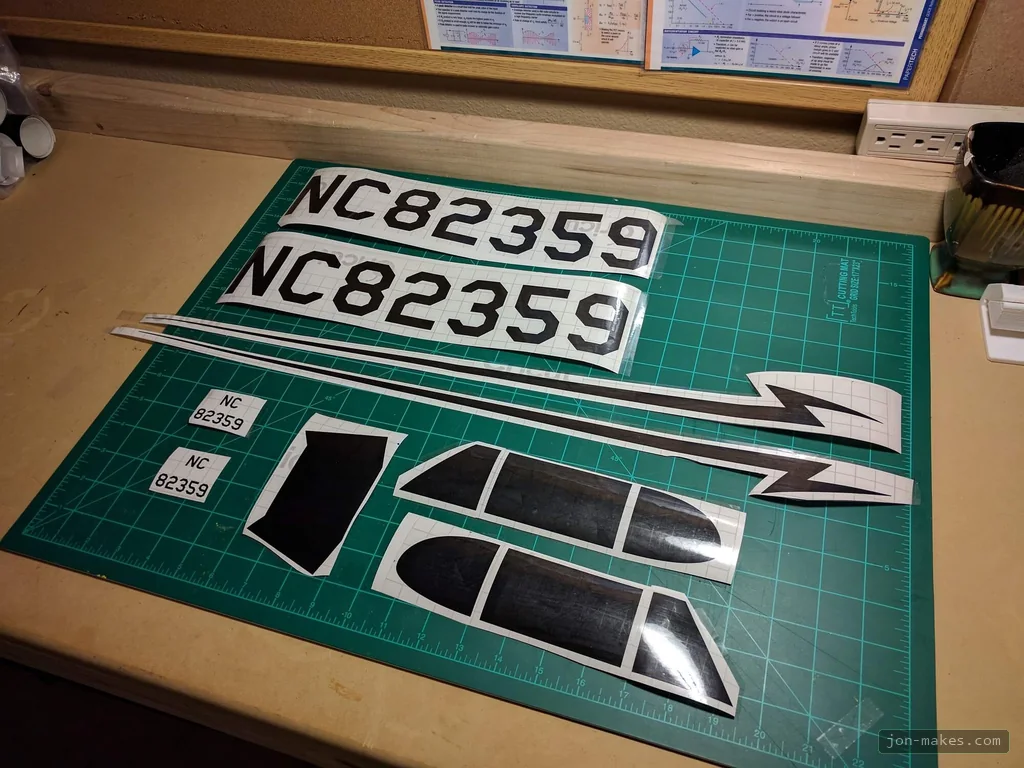
Using the plans as a template, I created the window, registration number, and lightning stripe decals in Illustrator and cut them on a vinyl plotter. The tiny cub bear emblem on the tail was printed on paper, glued on, and sealed with polyurethane.
3D Printed Mock Engine
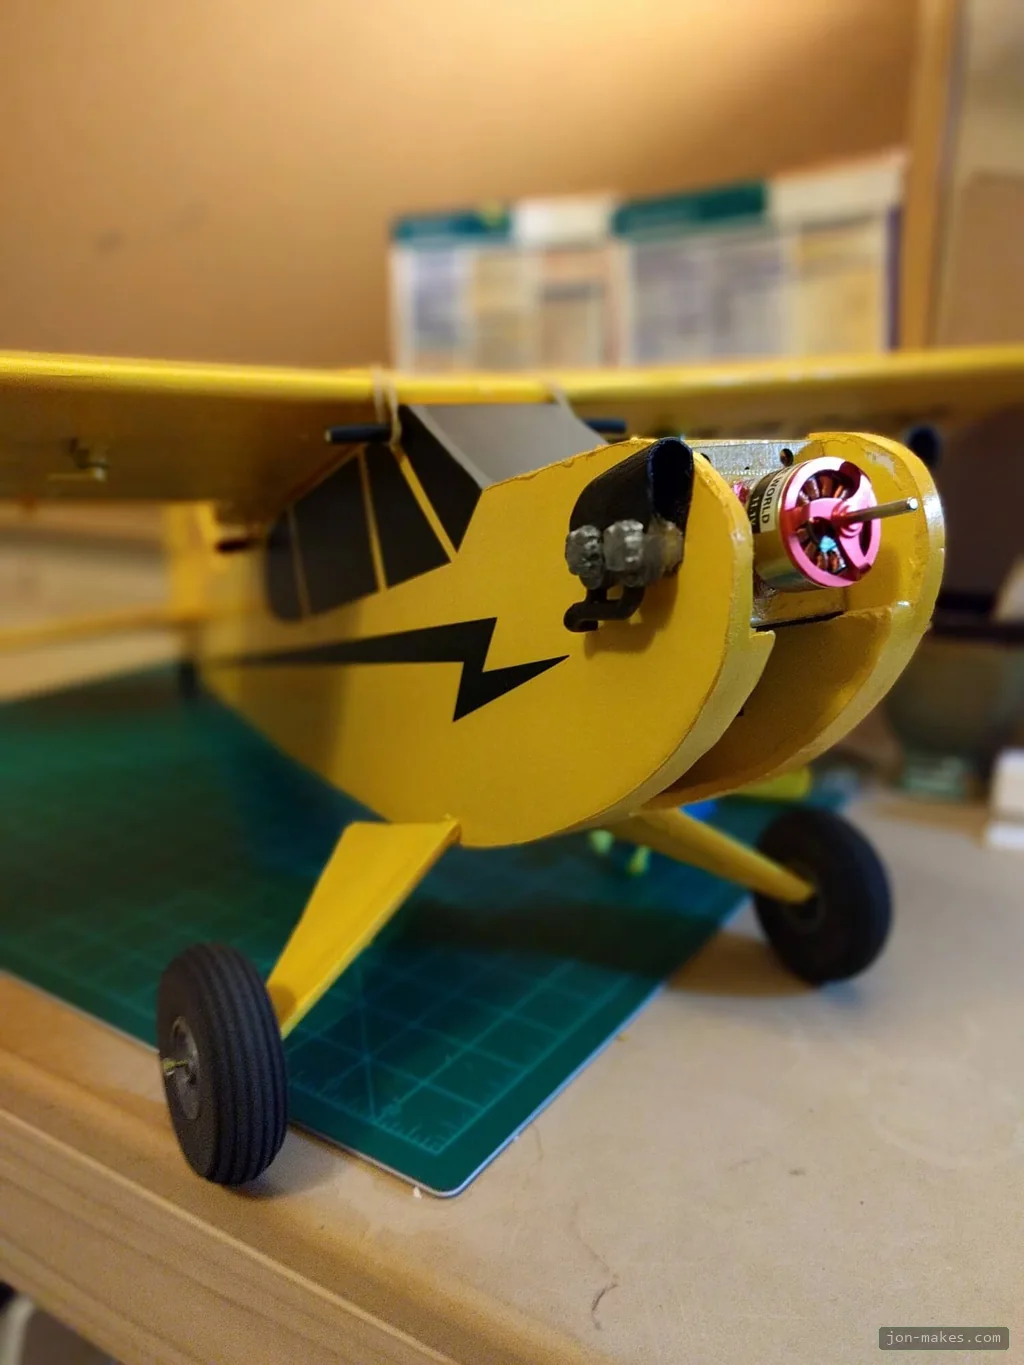
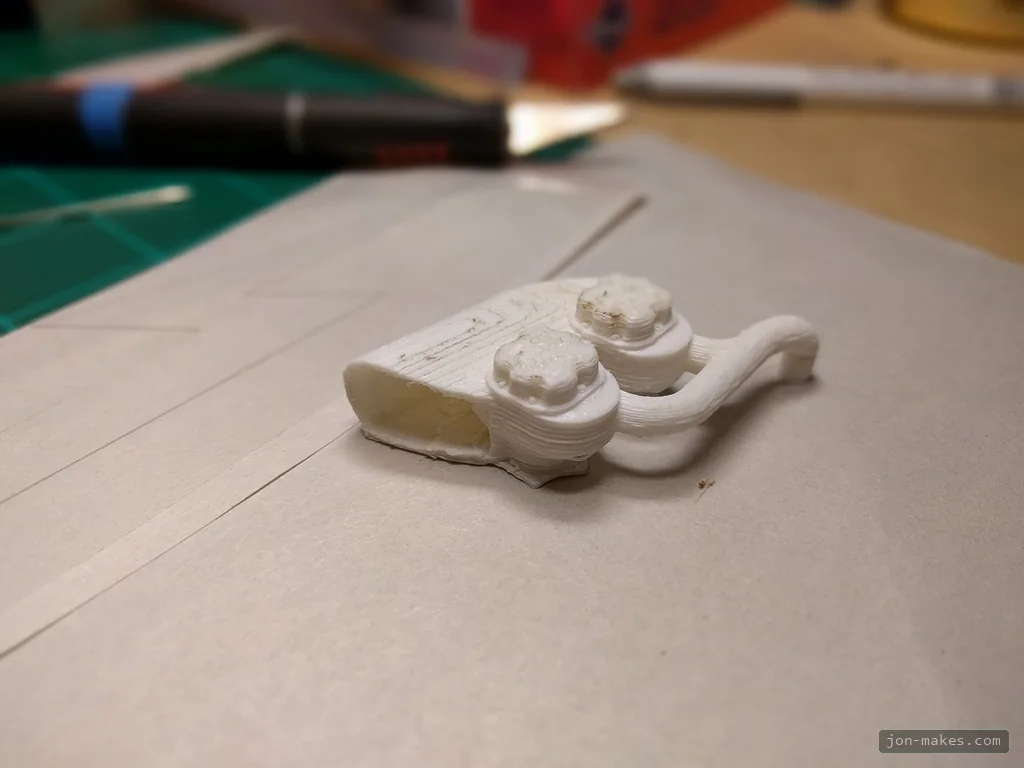
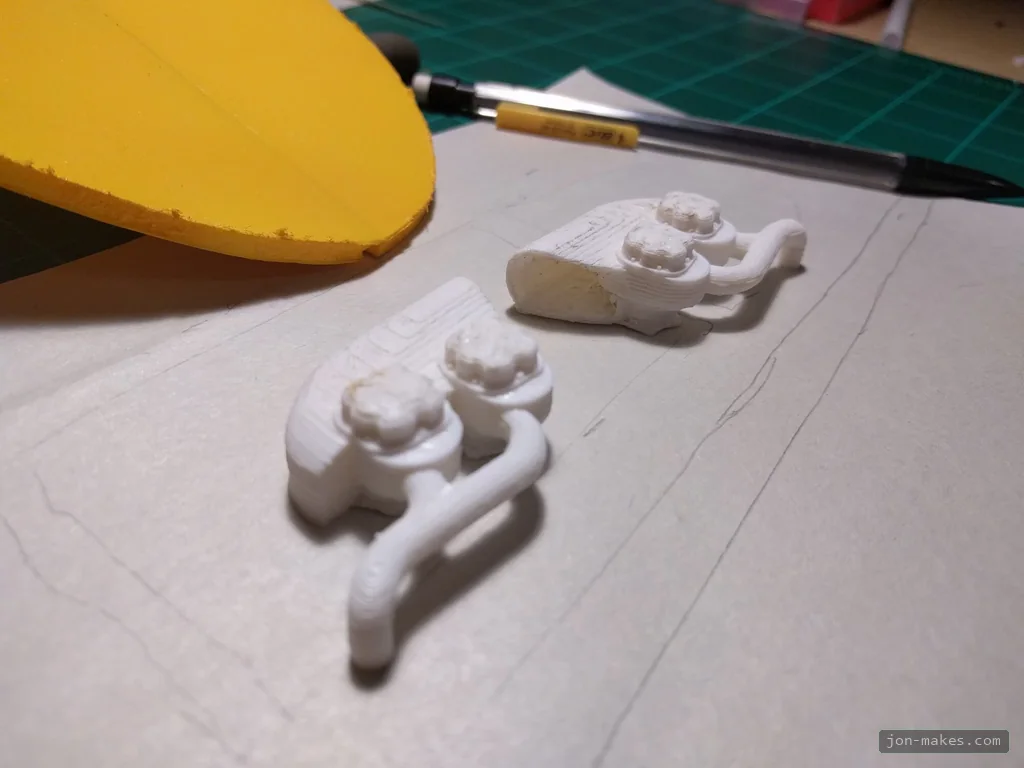
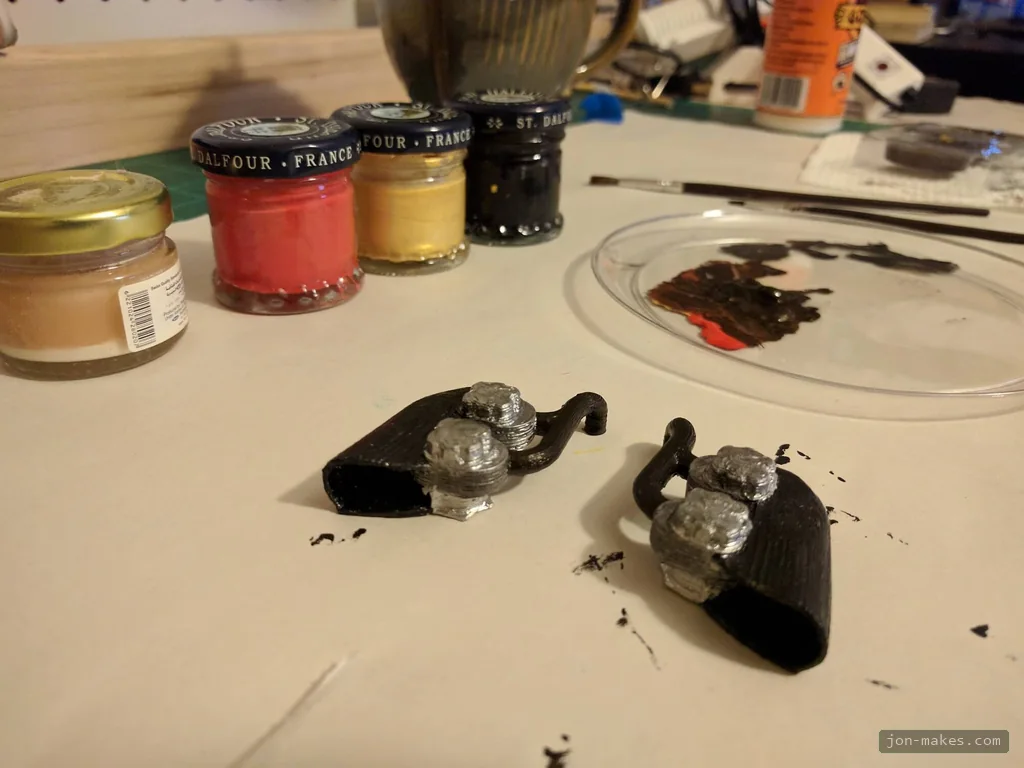
A realistic Piper wouldn’t be complete without a 3D-printed mock flat-four engine sticking out of the cowling. I modeled the cylinders and air scoops in Fusion 360 with a large flat mounting surface. Even the tiny bolt heads came out cleanly at a 0.2mm layer height.
If you go the functional cooling route, locate the airflow hole toward the back and use epoxy rather than hot glue — and peel the outer layer of paper from the foam before gluing so it doesn’t delaminate and pull your paint off in flight.
Finished Airplane